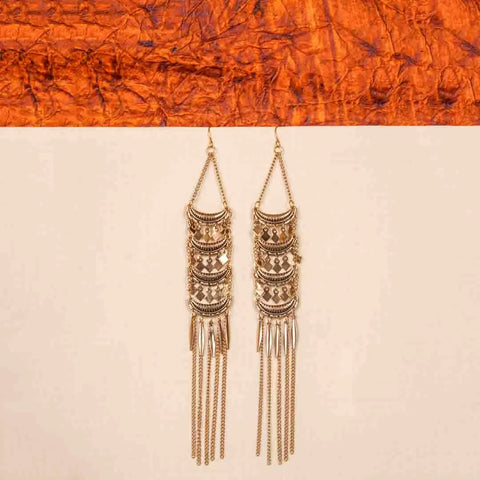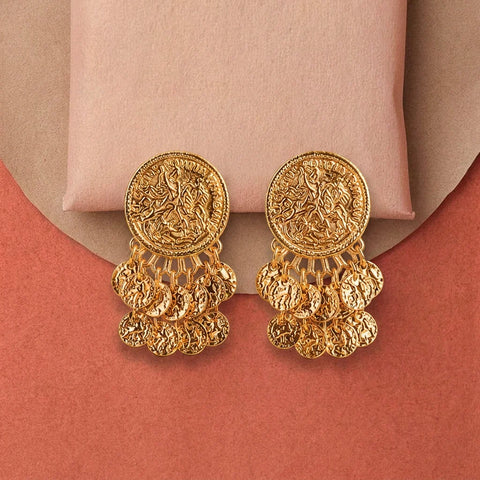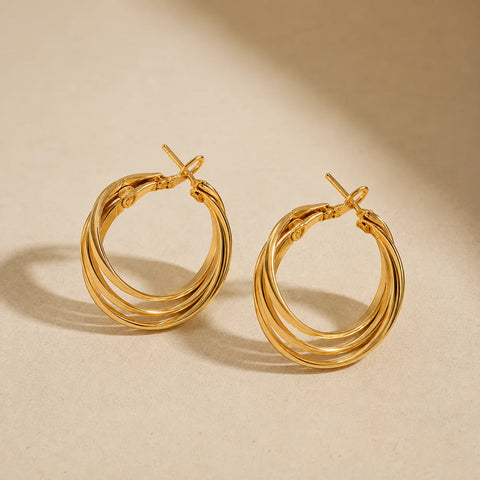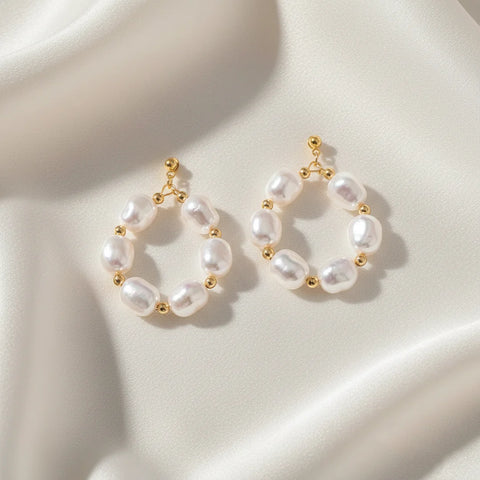


To make a simple earring box at home, use a sturdy box, measure its interior, add a soft lining, and create separate slots or compartments for different earring styles. Finish the box with a secure lid and personalize the exterior with paper, fabric, ribbon, or other decorative details.
Learning how to make a earring box is easier than it sounds. Start with a sturdy box, line the inside, add compartments suited to your earrings, and decorate the outside to your taste. It is a simple way to turn everyday materials into practical jewelry storage. At Discov Accessories, where you can explore essential ladies' fashion accessories, a little organization goes a long way in keeping your collection pristine, whether you prefer everyday accents or are keeping up with fashion trends for 2026.
What Is an Earring Box?
An earring box is a small storage box designed to keep earrings organized, protected, and easy to find. Unlike a general jewelry box, it can be customized around the shapes and sizes of your earrings.
Studs need small spaces, while hoop earrings, drops, chandeliers, and jhumkas may need larger or deeper compartments. Creating your own box means you can decide exactly how much room each pair needs.
This is particularly useful if your collection includes different styles for everyday wear, office outfits, festive occasions, and statement looks.
What You Need to Make an Earring Box
The best part of a DIY jewelry project is that you do not need an elaborate shopping list. Many of the materials may already be at home.
Basic Materials
You will need:
-
A small, sturdy cardboard or gift box
-
Cardboard sheets for dividers
-
Felt, foam or soft fabric for lining
-
Decorative paper or fabric
-
Glue
-
Scissors
-
Ruler
-
Pencil
-
Craft knife, if required
-
Ribbon or other decorative elements
Choose a box that is deep enough for your largest earrings. If you mainly wear studs, a shallow box can work well. For larger jhumkas or statement earrings, allow additional height so the pieces do not press against the lid.
How to Make an Earring Box Step by Step
The easiest how to make a earring box is to build the storage around the earrings you already own. Before cutting anything, place a few of your favourite pairs beside the box and consider how much space they need.
Step 1: Choose the Right Box
Start with a clean, sturdy box. A small gift box, repurposed packaging box or rigid cardboard container can work well.
Check the lid before continuing. It should close comfortably without touching the earrings inside. If you plan to store larger pieces, choose a box with enough depth rather than trying to squeeze everything into a shallow container.
Step 2: Measure the Interior
Use a ruler to measure the length, width, and depth of the box.
Write these measurements down before cutting your lining or dividers. It is better to cut slightly larger pieces and trim them than to make everything too small from the beginning.
Measure twice, cut once, especially if you are using decorative paper or fabric that you want to keep neat.
Step 3: Add a Soft Lining
Cut felt, foam, or fabric to fit the bottom of the box. Apply glue sparingly and press the material into place.
A soft lining gives the box a more finished appearance and creates a separate surface between the earrings and the cardboard. Choose a neutral colour if you want the jewelry to stand out, or select a shade that complements your collection.
Let the adhesive dry properly before adding your earrings.
Step 4: Create Separate Compartments
This is where your DIY box becomes genuinely useful.
Cut thin cardboard strips to create sections inside the box. You can make small compartments for studs, medium spaces for hoops and wider sections for drops or statement earrings.
For studs, another simple option is to create a small removable card insert and make tiny holes through it. The earrings can pass through the holes while their backs stay secured behind the card.
Keep heavier or larger pieces in wider sections so they do not crowd smaller earrings.
Step 5: Add Earring Slots or Holders
If you are wondering how to make a earring box that works for different designs, think vertically as well as horizontally.
A pierced cardboard insert works well for studs. Longer slots can accommodate drops or long western earrings. For hoops, create open sections where each pair can rest without tangling. Leave enough vertical and horizontal space for jhumkas and chandeliers so their shape is preserved.
For jhumkas, chandeliers and other detailed earrings, leave enough vertical and horizontal space to accommodate their shape. This prevents the box from becoming difficult to use simply because the compartments are too small.
Step 6: Decorate the Outside
Now comes the creative part.
Cover the outside with printed paper, fabric or a simple solid-colour sheet. You can add ribbon, initials, a small handmade label or another decorative detail.
If you prefer a modern look, keep the design minimal with one colour and clean edges. If the box is intended as a gift, you can personalize it around the recipient's favourite colours or style.
Step 7: Finish the Lid and Check the Fit
Before calling the project complete, place a few earrings inside and close the lid.
Make sure nothing is being compressed and that the compartments are easy to access. Trim any excess fabric or paper, reinforce loose dividers and allow any remaining glue to dry fully.
Your homemade earring organizer is now ready to use.
How to Make an Earring Box Without Cardboard
Not every DIY project needs new materials. If you are learning how to make a earring box from things already available at home, start by looking at unused gift boxes, packaging, stationery boxes or other small containers.
An old box can be transformed with decorative paper and a simple lining. You can also use thin foam or fabric scraps to create compartments.
Repurposing an existing container is especially useful when you want a quick organizer without investing in additional craft supplies.
How to Make Different Sections for Different Earrings
A well-designed earring box should reflect the earrings you actually wear.
Stud Earrings
Use small slots or a pierced card insert. Keep individual pairs close together so they are easy to identify.
Hoop Earrings
Give hoops slightly wider compartments. If several hoops are stored together, arrange them by size to make selection quicker.
Drop Earrings
Use longer sections so the decorative portion has enough room to hang naturally.
Jhumkas
Jhumkas often need more vertical space because of their dome shape and decorative details. Avoid placing them underneath heavier pieces.
Statement Earrings
Large western party wear earrings deserve wider compartments to remain visible and accessible.
5 Easy DIY Earring Box Ideas
Once you understand the basic process, you can adapt it to suit your personality.
1. Minimal Cardboard Box: Use a plain rigid box, neutral lining, and simple dividers for an understated finish.
2. Fabric-Covered Box: Cover the outside with fabric for a softer, more decorative appearance.
3. Upcycled Gift Box: Give an old gift box a second life with fresh lining and customized compartments.
4. Travel Earring Box: Create a compact version with secure sections for a few frequently worn pairs.
5. Personalized Gift Box: Add initials, a handwritten note, or the recipient's favourite colours for a thoughtful handmade present.
How to Organize Earrings Inside Your DIY Box
Making the box is only half the job. Good organization makes it much more enjoyable to use.
You can arrange earrings by type, colour, frequency of use or occasion. For example, keep everyday earrings toward the front and festive or statement pieces toward the back.
You can also create sections for minimal, traditional, colourful and statement styles. This approach makes it easier to choose an accessory when you are getting ready.
Discov Accessories follows a similarly varied approach to earrings, with its collection organized across styles and types including Western, Ethnic Fusion, Brass, Traditional, beaded earrings, hoops, dangles, drops and chandbalis.
How to Store Earrings So They Stay Organized
A good storage system should make your routine easier, not create another task.
Keep matching pairs together and avoid piling different earrings into one compartment. Separate larger statement pieces from delicate designs, and give frequently worn earrings easy-to-reach spaces.
It is also sensible to follow the care instructions provided with your jewelry. Keeping your storage box clean, dry, and uncluttered makes it easier to care for your collection over time.
DIY Earring Box vs Buying an Earring Organizer
A DIY box offers flexibility. You can choose the size, number of compartments, lining and appearance. It is also a fun way to repurpose materials you already have.
A ready-made organizer, on the other hand, is convenient when you want a finished storage solution immediately.
The right choice depends on your needs. If you enjoy crafting and want a personalized design, DIY is a great option. If convenience matters more, a ready-made organizer may be preferable.
Choose Earrings That Deserve a Place in Your Box
Once your organizer is ready, it becomes a small reflection of your personal style.
Whether you prefer understated everyday pieces, colourful designs, traditional jhumkas or bold statement earrings, choosing jewelry around your wardrobe and lifestyle makes getting dressed more effortless.
Discov Accessories' current earrings collection includes styles designed around different looks and occasions, including ethnic, festive, casual, colourful, glam and everyday-wear choices. The collection also features traditional and contemporary designs, giving you plenty of ways to build an earring wardrobe that feels personal.
Explore the Discov Accessories Earrings Collection and find pieces that deserve a place in your new organizer.
Final Thoughts
A good earring box does not need to be complicated. With a sturdy container, thoughtful compartments and a little creativity, you can create storage that suits the jewelry you actually wear.
The best part is that the finished box is completely yours, from the size and layout to the colours and details. And when it is filled with earrings that reflect your style, even getting ready can feel a little more organized.
Ready to fill your new earring box? Explore Discov Accessories for traditional jhumkas, contemporary designs, hoops, statement earrings, and everyday styles made for expressing your individual look. Stay Stylish, Stay You.
Frequently Asked Questions
Q1. How do you make an earring box at home?
To make an earring box at home, start with a sturdy small box, measure the interior, add a soft lining, and create separate compartments based on your earrings. Add pierced inserts for studs and wider sections for hoops, drops, or statement pieces. Finish by decorating and securing the lid.
Q2. Can I make an earring box from recycled materials?
Yes. You can repurpose gift boxes, packaging boxes, sturdy cardboard containers or other small boxes. Add a fresh lining and simple cardboard dividers to transform an unused container into practical earring storage.
Q3. Is felt good for lining an earring box?
Felt can be a useful lining material because it creates a soft, neat interior and gives the box a finished appearance. It is particularly suitable for DIY organizers where you want to separate jewelry from the harder cardboard surface.
Q4. What is the best size for an earring box?
There is no single ideal size. The box should be large enough to hold your earring collection without overcrowding it. Consider the largest pieces you own first, then design smaller compartments around studs, hoops and other everyday earrings.
Q5. Will cardboard hold earrings safely?
Sturdy cardboard can work well for a lightweight DIY earring organizer when it is properly constructed. Reinforce the dividers and avoid overloading the box. For larger or heavier jewelry collections, a stronger storage material may be more suitable.
Q6. Why should earrings have separate compartments?
Separate compartments keep pairs together and make different styles easier to find. They can also prevent larger pieces from becoming mixed with smaller earrings. Organizing by type, size or occasion makes the box more practical for everyday use.
Q7. How do you organize jhumkas in an earring box?
Give jhumkas deeper or taller compartments because their dome-shaped designs can require more space than studs or small hoops. Keep them separate from heavier items and position the box so the decorative portions are not compressed by the lid.
Q8. What can I use instead of a jewelry box for earrings?
You can use a small gift box, stationery box, compartment tray or repurposed container. With a few dividers and a soft lining, many sturdy containers can become useful earring organizers without requiring specialized craft materials.